!!! This is a SiteProxy proxied website, do not enter your personal information. Refer to: https://github.com/netptop/siteproxy for details !!!×
Showing posts with label Sorting. Show all posts

3.15.2022

Complex Fractions Sort

I needed a cool-ish idea for an Algebra II lesson to use while I was being observed. The topic: complex fractions. This topic brings my organizing-obsessed brain much satisfaction but is not exactly exciting. 

I went back to my roots....I love sorting!

Students were given 7 pieces to put in the correct order of being solved. 

After about 1 minute, I told the class that the piece with the @ symbol was the original problem and should be their starting point.


After another minute, I asked if they had a guess for which piece is the last piece. Most students can guess the order because it gets smaller as it goes.


Then I showed the correct order and asked what was happening from piece to piece and how did it affect the problem. 

I feel like I've been successful teaching this skill all these years without the card sort but it got us off and running much easier. It didn't seem like I was just magically pulling steps out of the air because they had a worked out example to see the process and the end result.

Here's the doc file in case you want to change anything and a pdf link if that doesn't work.


I laminated the pages, cut them up, and put them in snack size ziplocks for each student.


1.24.2016

Converse, Inverse, Contrapositive Sort


I feel like I got this original file from someone and then changed it to work better for me. If that person is you, go you! All the credit to you.

I used this in the past after introducing the concept of the conditional statements through Sam Shah's great activity found here.

Students cut up these strips:


They look at how the original has changed to form a new statement {and look back at some kind of notes we've taken} and then they place them on the 'mat' {printed on pretty paper} in the correct place.


I show the answers when students are finished.


Students glue to mat, cut out mat, and it all magically fits in the INB.

Ta-da!

1.26.2015

Factoring Review Sort


I taught Algebra II students how to factor quadratics in the form x2 + bx + c, ax2 + bx + c, difference of two squares, and perfect square trinomials with some GCFs thrown in for good measure.

But in the end, I wanted to convince myself that they really learned the difference between each type. I wanted some kind of sorting activity where students had to analyze the problem for which type and then solve. I couldn't really find what I had in mind so ta-da!

I made up 35 problems, seven groups of 5 problems each (with symbols on each to check their answers), and printed them on card stock.


Students cut them up and sorted them into the four main categories without GCFs first. Here are two different flow charts I made to help them. The second one seemed to work better.


Once they had those four groups, I told them that there should be five in each group. That prompted some rearranging. Then I gave them the correct symbols for those four groups. That's 20 problems out of the way.

Now students are left with 15 pieces that all have GCFs. So they had to divide the GCF out of each problem and see which of the original four groups the remaining problem fit with.

Once the last three groups are sorted, I again gave the correct symbols so they could check their answers. 

Then they had to actually write down the problems in the correct category on this worksheet and solve.


This can take anywhere from 3-4 class periods depending on how much you are willing to let the students struggle. But they practice telling the different types and then actually working 35 problems.


All files can be found below.

11.17.2014

Trig: Unit 2 Right Triangle Trig Interactive Notebook


Page 23-24 introduced the trig ratios used in right triangle trig. The triangle manipulative was made with transparencies and was stolen straight from here.


I made the bottom flaps myself.


These neon envelopes came from the Dollar Tree and I only have 8 trig students so each student got their 3 envelopes. I used Pam's trig ratio cards and wrote symbols in each corner. Students sorted into their envelopes. I later showed them the answers and they wrote the correct symbols on the envelopes so that they could later go back and quiz themselves.


Page 25-26 The LHP starts with students setting up the ratio without solving anything.


The RHP has them set up the ratio and solve.

Page 27-28 LHP Students set up the ratio for an angle without solving.


 RHP Students set up the ratio for an angle and use the inverse ratio to solve for the missing angle.


Page 29-30 LHP Students read the word problem and match it to the correct diagram, then write the variable in the correct place.


RHP Students draw their own diagram, write the variable in the correct place, and then choose the correct ratio and solve.


Page 31-32 We wrote what students might be given on baby post-its and then what method to start with underneath.


The actual solving triangles part of this was given to be by @rawrdimus. Thanks!


The right hand page was just me helping them to organize their work.

Here are the files.

3.11.2014

Proofs: Cut, Sort, and Paste


One of the other ways I practice proofs is using this activity where students have all the pieces to the proof and are cutting, sorting, and pasting them into the correct order.


This is the first year I've used this idea and in my top two sections, I've used it as a reinforcement activity after students have finished a packet of about 16 proofs that they write on their own.

In my third section, which is a lower group, I plan on using it as a practice activity before students start writing proofs on their own. I'm curious to see if it makes a difference.

I did not create the document, I just wrote out the strips and gave them a table to paste them in. I scanned them in and the second sheet is crooked so I left the blank tables in case you would like to rewrite them yourself. =)

In retrospect, I should have brought students together and discussed the different ways students went about their sorting. But my students were kind of  working on different things at their own pace so I will  attempt that discussion in my third section.

Update in a few days!

3.08.2014

End Behaviors Sort


This activity was not created by me but I don't know the name of the teacher who did create it. I took the questions and created a powerpoint.

Once students have been introduced to end behaviors of polynomial functions, I use this as a reinforcement activity.

There are twelve graphs of polynomials that I print on colored paper and cut (or better yet, have your students cut, and then you get to keep them forever).


I ask students to spread them out at the top of their desks so that they can see each graph.

Then I go from slide to slide on the powerpoint, asking students to choose a select few from the group. It doesn't take long for them to get the hang of it and then I show the answers (immediate feedback).


You can probably make prettier ones with Desmos nowadays but I'm not looking for more work.

This activity could also be used as an alternative assessment or you could use the powerpoint and ask students to create their own graphs for each question.

Before doing this activity, you could give students the graphs and ask them to sort them into any groups they would like. Then have each group compare and contrast for some interesting discussion.

I love a good sorting activity!

2.04.2013

Made 4 Math: Radical Equation Stips


This year in Algebra II I taught solving radical equations for the first time. I don't really know where this idea came from but I ran with it. I have a small class of 12 students so I created 4 sets of strips and divided my students into groups of three.


I put a star * by the strip that represented the first step in the problem. Each strip represented a different step in the process of solving a radical equation. Students had to put the strips in order, check with me, and then write down what was happening in each step of the process.

Here are the strips:


I printed them on card stock and then laminated them. But I did create the file with the steps out of order in case you want to pass them out and have the students cut them out instead of you.

Last but not least, here's the worksheet I used for them to write down the process. Here's a tip, I only created four steps but that was confusing because students wanted to write 'square both sides' and then after that write 'square roots disappear' when I considered that one step in my brain. So you may want to add another step in there.


This took most of the period and the next day I gave them a worksheet of problems and wrote the answers on the board. They worked them all with very little trouble although their were two problems with fractions which I should have included in our sequencing activity.

On their assessment for radicals, this was the concept they did the best on overall.

On a side note, I thought it was cute that when I first passed out the strips they immediately started to sort them into piles. lol See, sorting pays off!!

10.29.2012

Made 4 Math #18 Slope-Intercept Form Card Sort


I started a new unit in Geometry- Parallel and Perpendicular Lines. I started with a card sort. I numbered the back of the page going across 1-12. Then I copied each page on a different color of card stock and cut those in half. I passed it out to the students and had them cut out the individual squares. (Yay for student labor!) Unfortunately, when they cut, the numbers were cut in half which posed some problems. Maybe you should have students number them after they cut? Not sure what happened on my end.


I asked students to sort into groups. Some students sorted the ones with fractions, parentheses, and neither. I'm sure you will see a wide variation. The first hint I gave was that students should have three groups. They resorted and I went back around the room to observe. Next, I told them they would have one group of six and two groups of three. From here, almost everyone had their cards in the correct group.

I displayed this slide to make sure everyone had the correct groups.

A few students recognized that the one group of six were in slope-intercept form. Yay for Algebra I. I asked them to put those six cards back into their envelope. Then I passed out this worksheet and asked students to write in the equations on the cards onto the worksheet and solve for y. They did okay at this. After they were done I told them to get the six back out of the envelope because these were the answers to the top of their worksheet. See what I did there?


From there we went to the bottom half of the worksheet which was graphing lines on the calculator. Then on the back we worked down each column individually. We solved a pair of equations for y. We graphed. We noticed both lines were parallel. We compared the equations. Oh my, they have the same slope! We did this three times and summarized that all parallel lines must have the same slope.

And....scene.

2.07.2012

Teaching the Quadratic Formula

Because my school is a SIG (School Improvement Grant) school we are periodically observed by the Illinois State Board of Ed. A couple weeks ago, they came in to observe the math and English departments. I was observed on Wednesday and the English teachers were scheduled to be observed on Thursday. Due to a freak break in our water main, the school had no water and was shut down on Thursday. So ISBE's only impression of our teachers was based on my classroom...and I rocked it. Apparently they bragged all over me and were impressed at how rigorous my lesson was considering I am only a third year teacher. Plus, they missed the first half of my class! They were in a meeting and someone interrupted them to tell them they were supposed to be in my class. They said they shouldn't tell teachers when to expect them and then not show up! lol

Anyway, they had asked me ahead of time to prepare lesson objectives, how my lesson connected to the Common Core, sample student work, and any formative or summative assessments that would follow the lesson. I will say that I went overboard in creating a lesson plan with a fancy template and I decorated the folder I put everything in. I also had a student greeter who welcomed them in the room and escorted them to their seats. I think these were the things they were most impressed by.

As far as my actual lesson, I feel confident that it was not posed or over the top but included things I normally do. I didn't prep my kids other than to tell who would be there and I felt that the classroom environment was essentially unchanged after they took their seats.

So let me preface: we had just learned the square root method to solving quadratic functions. The day before I had quite a few students out so we did some board work and review. I wanted to briefly introduce the formula to get the following day's lesson off to a good start. I decided to try a 3D puzzle, which is something we had tried in our grad class. What I did was create an 'empty' quadratic formula and overlay that with a 5 x 5 grid (I have 5 students) in Powerpoint.
I cut them apart into 5 strips of 5. Each student had a strip and two crayons. No students could have the same two shades of crayons. They had to use both colors in each square on their strip and no space could be left white. Then we cut them all apart, mixed them up, and they had to put them together.


I thought it would be easy but it did take longer than expected and it required them to work together. I ended class by showing them this classic video- if you watch it, you have to watch the whole thing.

So the next day, we started class as usual with a bell ringer. I asked them to write the standard form of a quadratic and the formula for finding the AOS of an unfactorable quadratic. I asked the students to explain what we did the say before with the puzzle and then we all watched the video again. Now, everyone has seen the formula. We started our notes by writing down the quadratic formula and the AOS formula and comparing. They notice that both formulas have -b/2a. Here's where I transition into the discriminant. I tell them we are going to ignore the part of the formula we are familiar with and work with the b^2 - 4ac. I send them to the board and they do three example problems, just finding the discriminant. Then it's back to their seats. I give them a baggy with six different equations.
I tell them to find the discriminant of each (which they have already shown me they know how to do at the board) and then I ask them to sort. I love sorting! I don't give them any information. Some students sorted them into 2 piles of three, based on the equations set equal to y or 0. Some looked at where the 3's and 4's were and sorted by their positions. Then I told them they had to have three piles. They re-sorted. I asked each of them to describe how they sorted in one sentence. They shared and we decided who had the best idea. They agreed that one pile had negative answers, one was positive, and the others equaled zero. That led us into a discussion about real and imaginary roots and visualizing what roots mean and whatnot.
Next I said that we would put the old part of the formula and this new part together and practice using the entire formula. We consulted our sorting cards to tell us how many roots the first equation should have and students set off to solving. This was the first time so all the problems worked out to be nice whole numbers and no negative discriminants. I ran out of time before finishing all of the examples, but like a good girl, I stopped early to do the exit slip, which was asking them to answer the lesson's essential question: "How does the quadratic formula help you find the roots of a quadratic equation?" I thought it tied in nicely with the unit's essential question: "How can we find the roots of any type of quadratic equation?", both of which I made up myself. My observers came in late, after the video and board work but right during the sorting. I love sorting! Luckily, I got to talk to them afterwards and explain my cool 3D puzzle and show them the Crank Dat Quadratic Formula video. One of them is a former math teacher and was familiar with the Pop Goes the Weasel tune but liked the new video. She even said, "Isn't that that Superman song?" which earned her brownie points with me. They asked me if I created the lesson template myself, which I did, but was inspired by one I found from Microsoft Word. They thought that it looked very much like backwards design which made me happy inside because that's where I'm trying to go. Since then we have solved quadratics with like terms on both sides, with discriminants that need to be simplified, finding exact and approximate answers, quadratic applications and word problems. I feel that they have handled it all really well and that this was a great start. I'm no Dan Meyer but I'm proud of my lesson and it's results and I wanted to share that all with you! While I'm sharing, here are all my resources that I mentioned above: Lesson Plan Template Unit Plan Template (I did not create) Quadratic Formula 3D Puzzle Discriminant Sort (I love sorting!) The Quadratic Formula PPT The Quadratic Formula Notes Bell Ringer and Exit Slip Thanks for reading my extra long post and for cheering me on.

I love sorting!

1.13.2012

Geometry Sort

I personally love sorting. There is just something about putting things where they belong. Neatly.

But it's also a great teaching tool. I have to give all credit to my instructional coach because I never would have thought of this on my own.

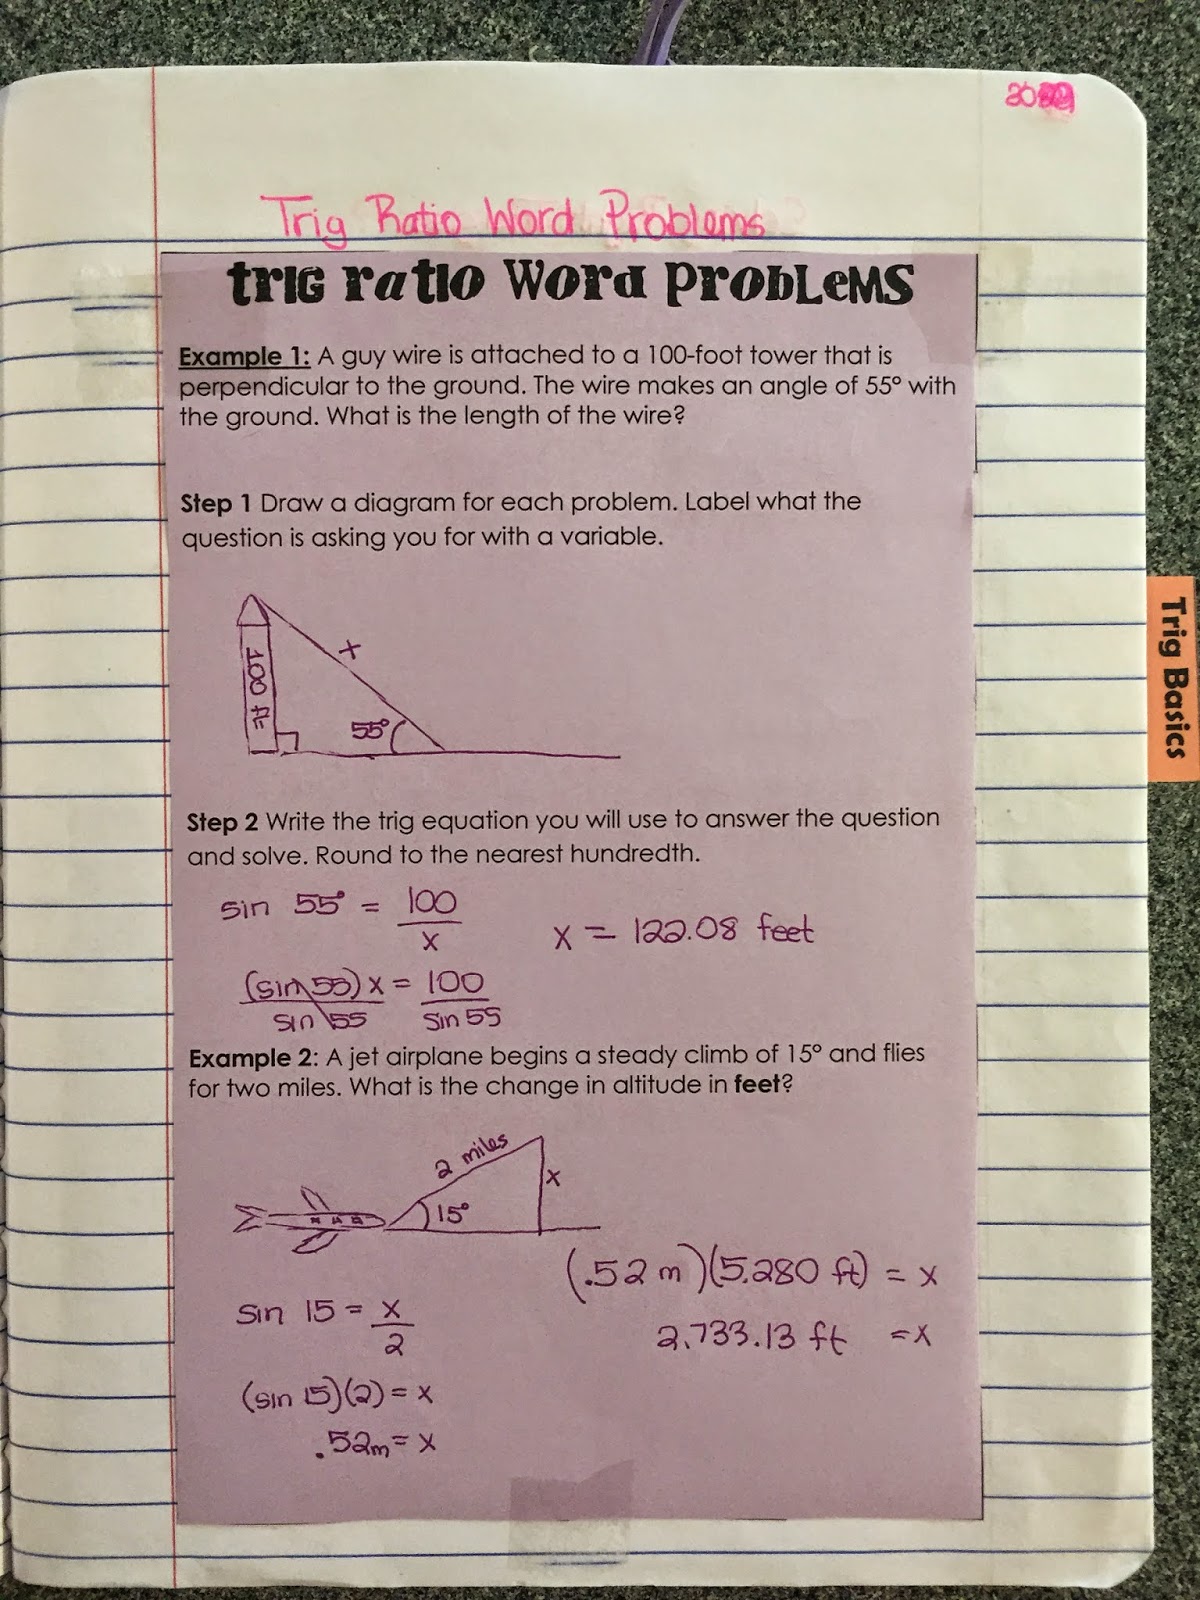
I'm supposed to be teaching a unit on triangles: isosceles triangle theorem, triangle sum, inequality, altitude, median, midsegment, and bisectors. I haven't taught all of them before so I didn't have much to go on. I searched all my usual places and couldn't find much either.

As luck would have it, I happened on this pdf and on page 4 and a lesson was born.

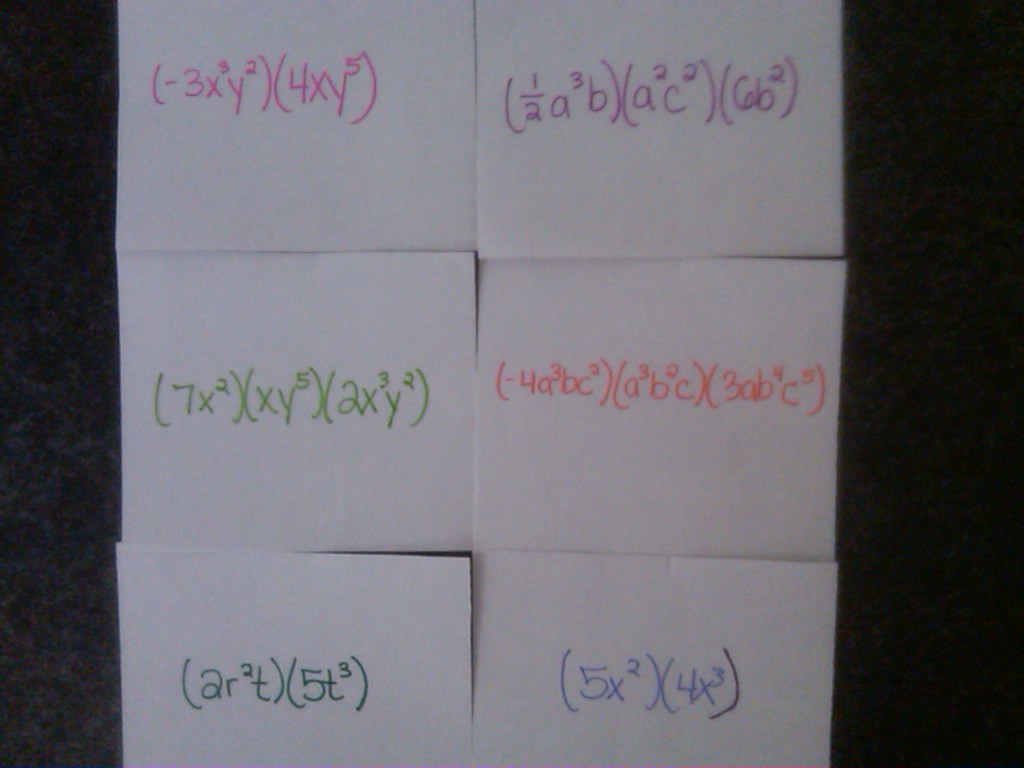
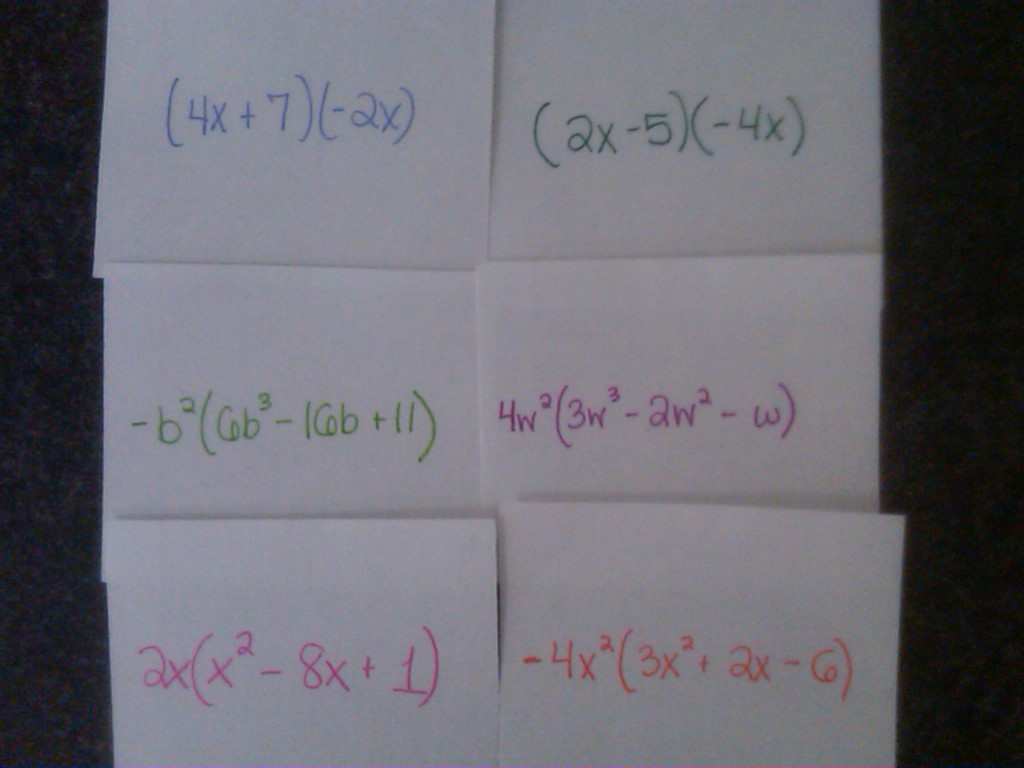
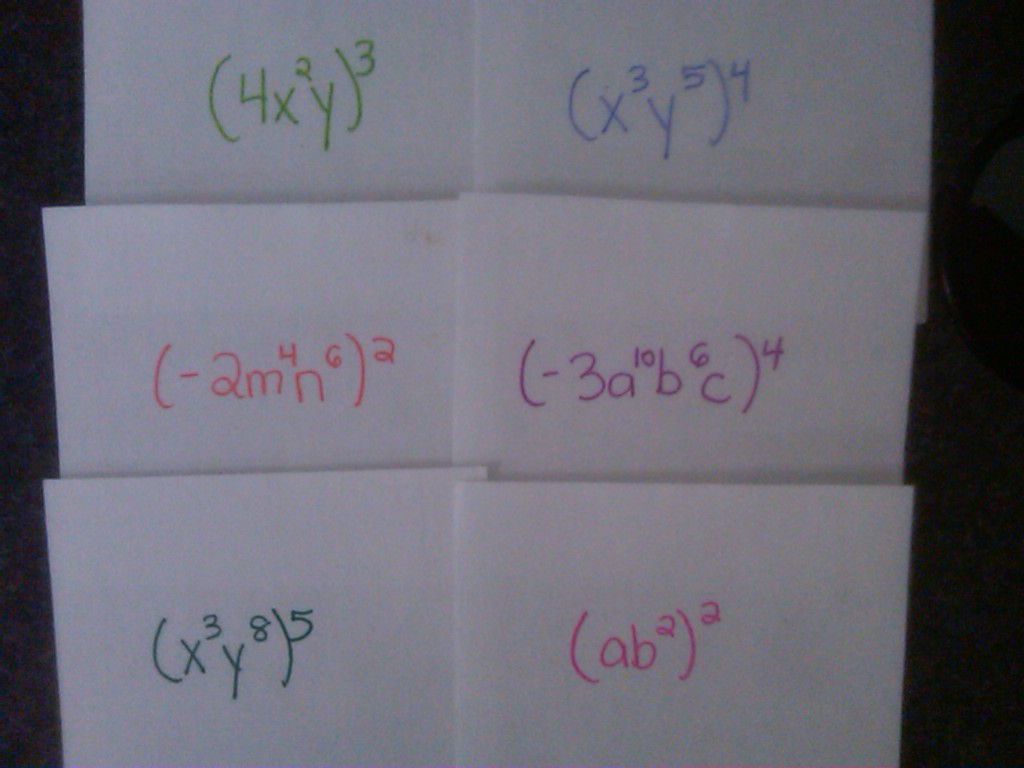
I copied the cards on hot pink card stock, cut them out, and put them in an envelope. Students worked together in pairs, one envelope per pair.


The only instruction I gave them was to sort them into piles. I was extremely unhelpful and would not answer any questions except to say "Do whatever you think." I gave them about three minutes, walking around to see and hear what they were thinking.

Then I asked them how many piles they had. They answered with 3, 4, or 5. I told them they should have exactly 5 piles. So they sifted through their piles and resorted.


Again, I'm offering no assistance.
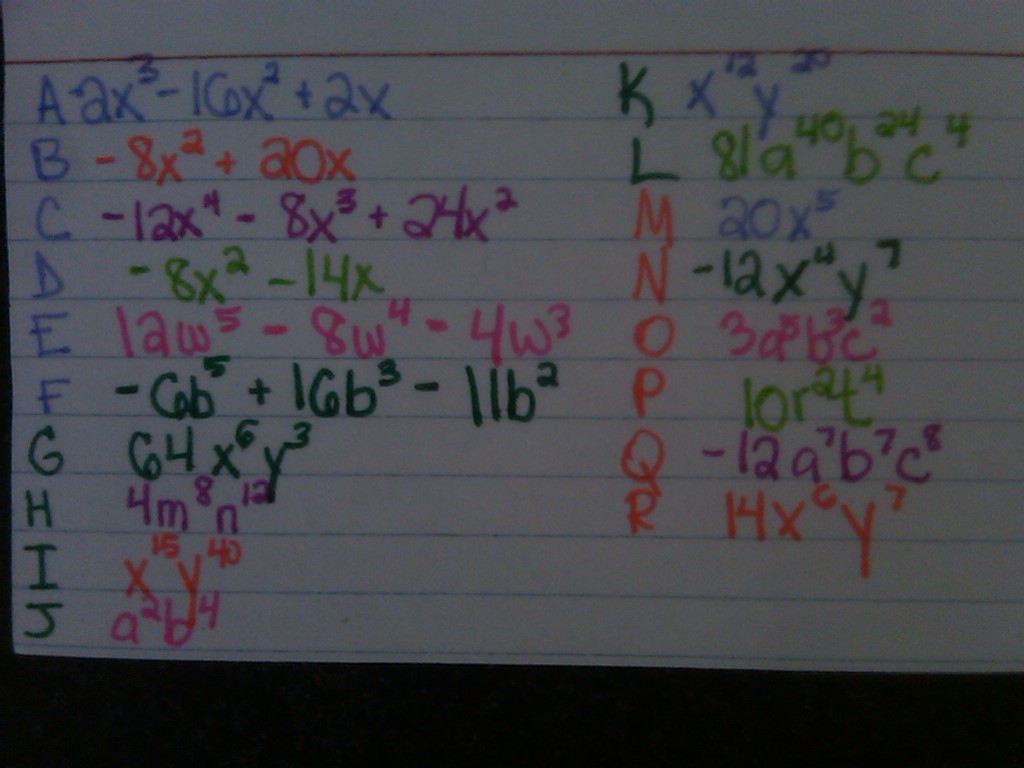
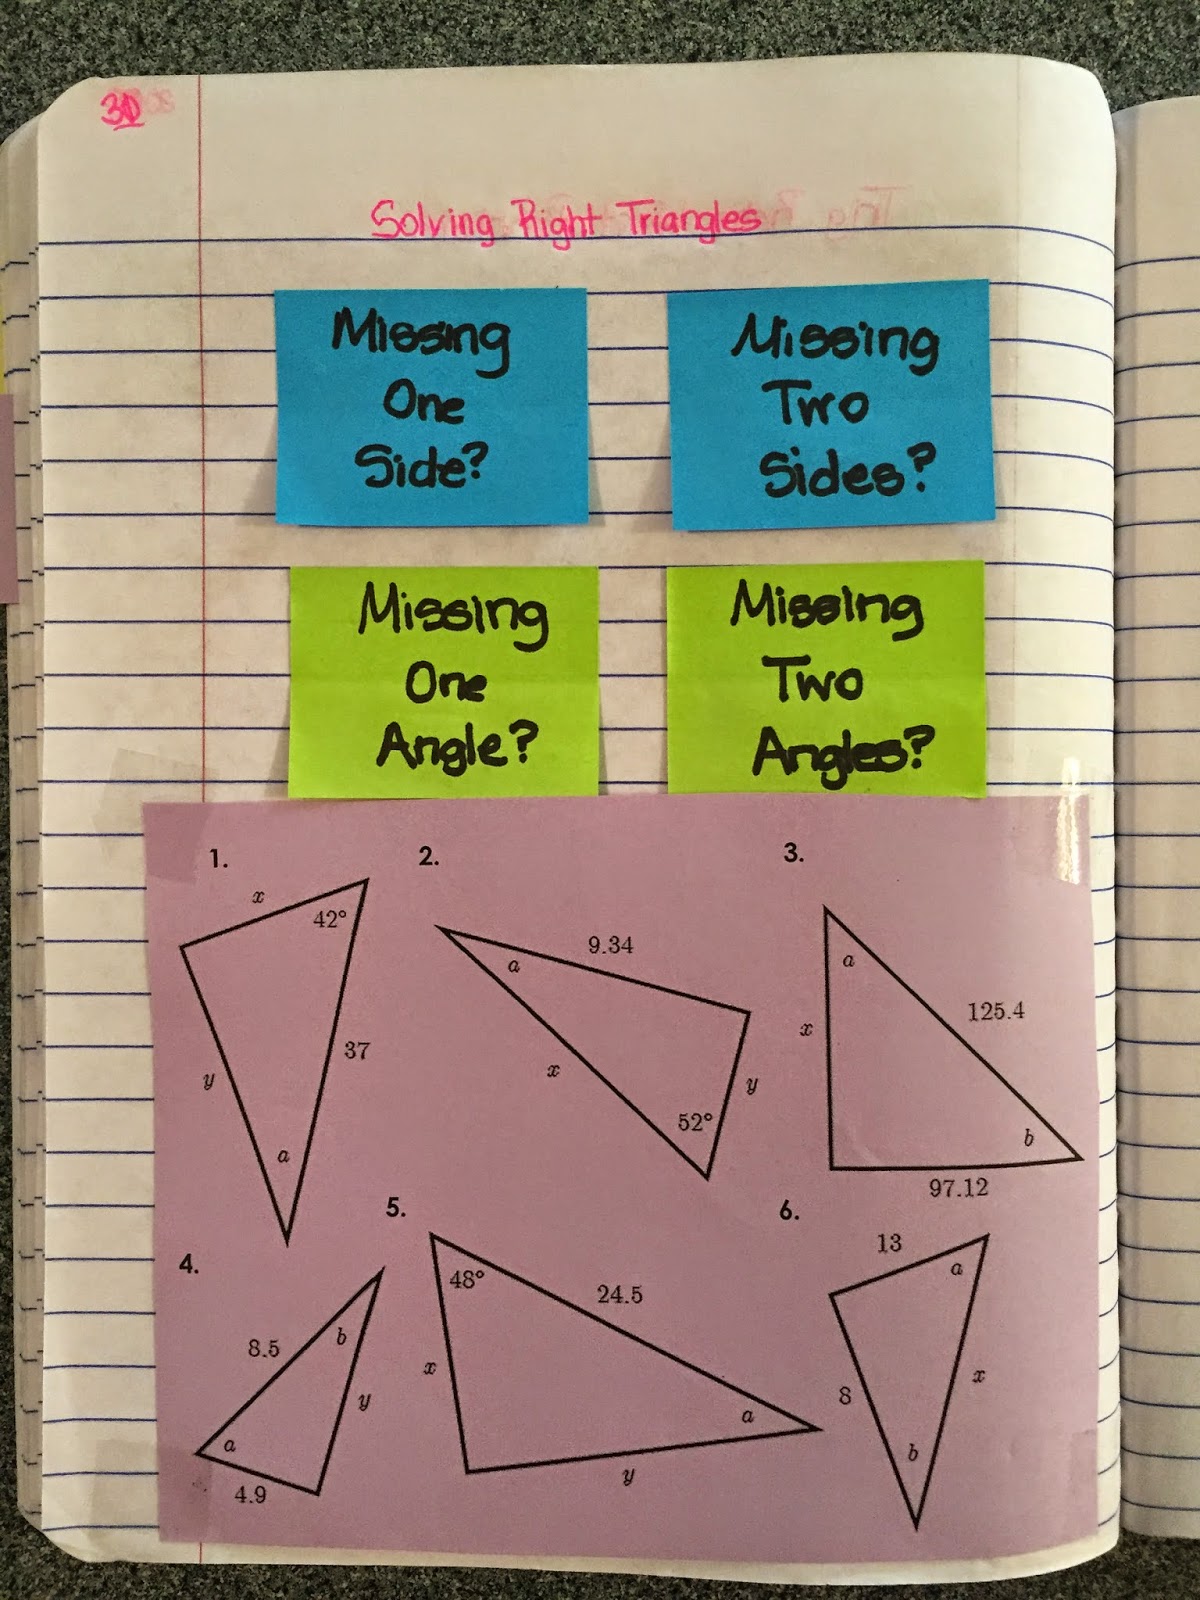
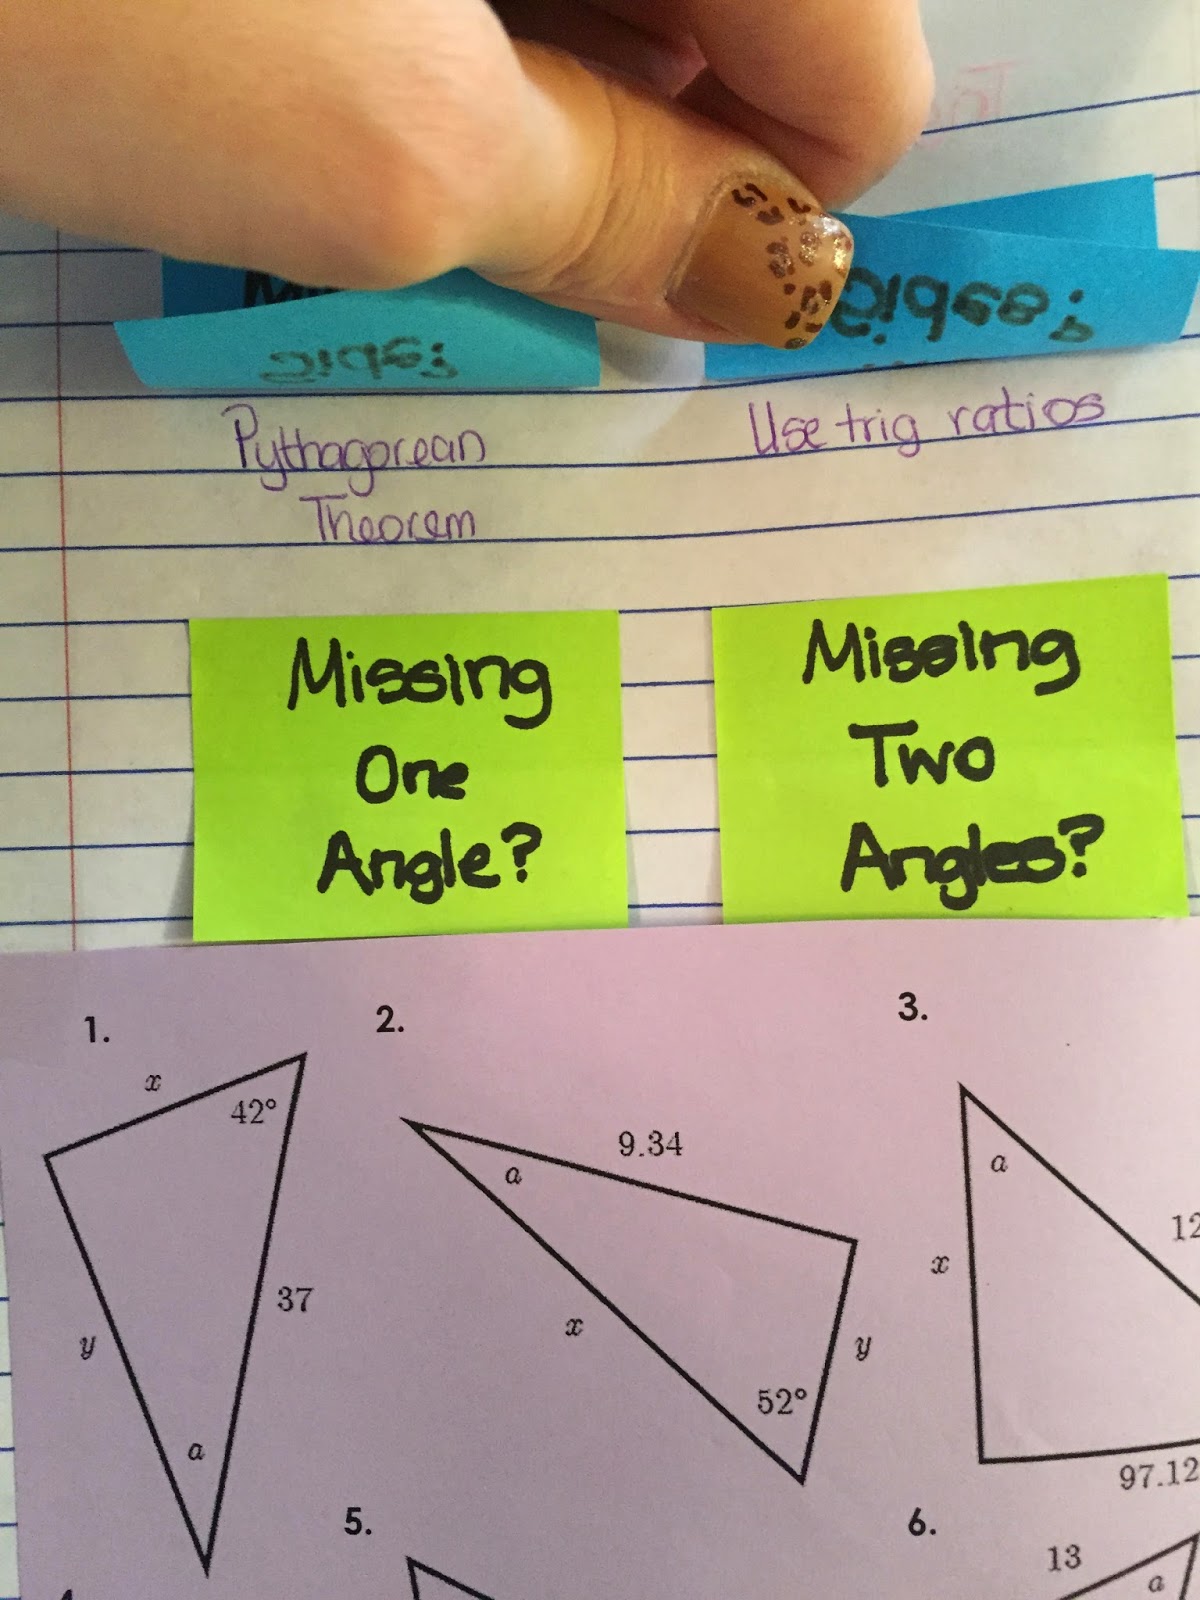
Next I passed out their notes for the day. At the top there were 5 empty boxes with labels. I asked them to match their piles to the labels and place them in each box.


Again, not a word.

I then held up one card to the doc camera and asked what they labeled it. We went through each of the piles and from the feedback I was getting, it seemed that every group got them right.

We had good discussion about how they sorted, why they picked that label, what did the markings mean, how was each pile different, and so on. I had them move the piles and then draw the diagram into each box. Collect the envelopes, and continue on with our notes.

I love this because it was a lot more meaningful than me saying, "This is a median. Draw it." It always takes more time than you would expect but the students are so engaged. It's a low risk, non threatening way to get every student involved, prompt good discussions, and definitely kick up the higher order thinking. Anyone can sort. From there, you can take the activity anywhere you want to go.

Every time I do a sorting activity, I just smile so big inside because the kids think they are getting away with not doing math, without noticing that I'm the one getting away with not doing math.

I think this is a strategy I need to hit on more often because it helps me remember why I chose to teach math in the first place and lowers my frustration with the whole when will we ever use this issue.

Plus a little hot pink never hurt anybody.

4.22.2011

Card Sort

We are in the middle of our polynomial unit and I decided now would be an appropriate time to teach exponent rules. I had prepared a concept attainment for the exponent rules before I talked to my coach. She suggested that we stray away from teaching 'rules' and rather teach the concept behind it. So basically, I only taught the concept of multiplying the coefficients and adding the exponents. When it came to the power to a power rule, we literally expanded it out and then multiplied coefficients and added the exponent. The more that we practiced the concept and writing them out, the more students figured out the shortcut of taking the coefficient to the power and then just multiplying the exponents.

I was skeptical of this method at first until I realized that it was a better way to scaffold the lesson. Present one concept at a time, that will build on prior knowledge. Practice it until it becomes second nature and they will naturally look for a shortcut. We humans are mighty efficient like that.

I taught one concept but we were really practicing three rules:  power to a power, product to a power, and the distributive property. My coach is a big fan of sorting. I made a set of 18 cards, 3 groups of 6 that represented each rule.


Product to a Power

Distributive Property

Power to a Power
These are index cards (my favorite!) cut in half by the way. So each group had the same cards and they were all mixed up of course. The students were instructed to spread them all out and then begin sorting into piles.


I did not give any parameters to sort by. In every class, without fail, my top students' team quickly sorted them by color. I then charged them with the question, "If I am asking you to sort them, do you think I would have color coded them for you?"

If teams were really struggling, I told them they should have 3 piles. A lot of teams sorted them by sets of parentheses which works for the power to a power group but not the other two. Every single group mistook two of the distributive property cards because they were written backwards compared to every other one in the group.


See above. (4x + 7)(-2x) and (2x - 5)(-4x) look different and so students put them into the product to a power group. I guided them to look inside the parentheses and see what's happening. From there they realize the distributive property means there will be addition and subtraction.

Once students had them correctly sorted, they distributed the cards evenly among themselves (some from each group) and then solved them. Depending on quickly the group got done, students could rotate cards and work more problems.

Each card had a letter on the back. Students wrote the letter next to their solution so that we could check the answers.


Students tried to sort by alphabetical order but that only created one big group. :) They also tried to sort by what 'looked' easy, medium, hard or problems that looked short, medium, or long. Also some tried to  group based on how many negatives or positives in the problem and even how many exponents existed.

Checking answers was super simple.


My whole goal was for them to know when to use each rule/shortcut/property. By asking students to sort, we are kicking it up a notch higher in Bloom's Taxonomy or DoK and hopefully making them think. The more I am less helpful, the more opportunity for students to construct their own meaning.